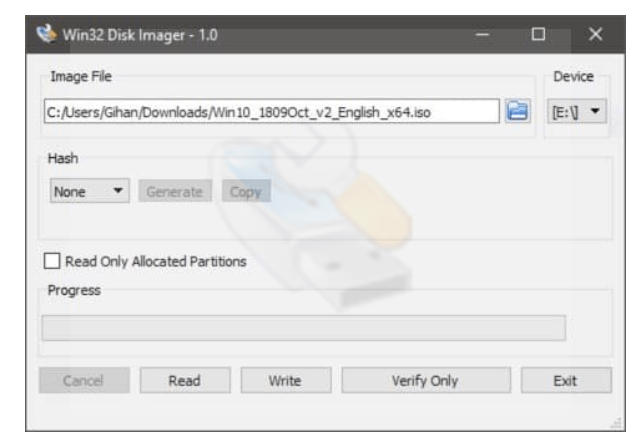
Win32 Disk Imager is a software made for Windows. Similarly to others, this allows you to provide a replica of the OS in an external storage. The great thing about this software is that it does not compress data when content is being copied. It does not alter the content from which you can backup and restore the files exactly as they were. It is a lightweight software at 44 MB and has simple user interface.

Here are the steps to create a bootable USB drive using Win32 Disk Imager:
- Download and install Win32 Disk Imager on your computer. You can download it from the official website.
- Connect the USB drive to your computer.
- Launch Win32 Disk Imager and select the ISO file that you want to write to the USB drive.
- Select the USB drive from the drop-down menu under the “Device” section.
- Click on the “Write” button to start writing the ISO file to the USB drive.
- Wait for the process to complete. Once it is done, you will get a message indicating that the process is completed successfully.
- Eject the USB drive and use it to boot your computer.
Note: Writing an ISO file to a USB drive will erase all the data on the USB drive. Therefore, make sure you have a backup of any important data before proceeding with this process.
Was this article helpful?
YesNo
